
A vehicle wrap is a shop job and a design job at the same time. I start with the vehicle’s make, model, and a template from your installer, design the graphics so they can be read at a glance, show you a mockup on the actual vehicle, and then hand off production files the wrap shop can print and install. The shop owns the install. I own the art getting there in a form they can use.
I’m Cary Hawkins, a freelance designer in Edmond. A lot of the businesses I work with are on the road every day, so vehicle and truck graphics have been part of the studio for a long time. The right graphics turn every drive and every job site into advertising — if they fit the vehicle, and if the file that leaves my desk is one a wrap shop can trust.
Why the wrap shop comes in first
I design to your vehicle’s dimensions. That sounds obvious, and it’s where a lot of files go wrong.
A box truck, a gooseneck trailer, and an ambulance box are not the same shape. Doors, handles, lights, rivets, and diamond plate all sit in different places. If I design on a generic rectangle and hope it stretches, the logo ends up on a handle, or the shop has to rebuild the file before they can cut vinyl.
So the first thing I ask for is the vehicle make and model, and a template from your installer. Photos of the actual vehicle help, too — especially when the body isn’t a stock shape. I can work with shops in Edmond, Oklahoma City, and farther away. You don’t have to switch installers. I prepare files for the shop you’re already using.
From a readable design to a mockup
Vehicle graphics have to work at a glance and at a distance. I keep your name, what you do, and how to reach you clear and easy to read. Once the layout is in good shape, I mock it up on the vehicle so you can see it before anything prints. A flat side view is useful for checking spacing. A photo mockup on the real truck is better for checking how the art sits around doors, wheels, and corners. You review it, we revise it, and we don’t send a production file until that mockup feels right.
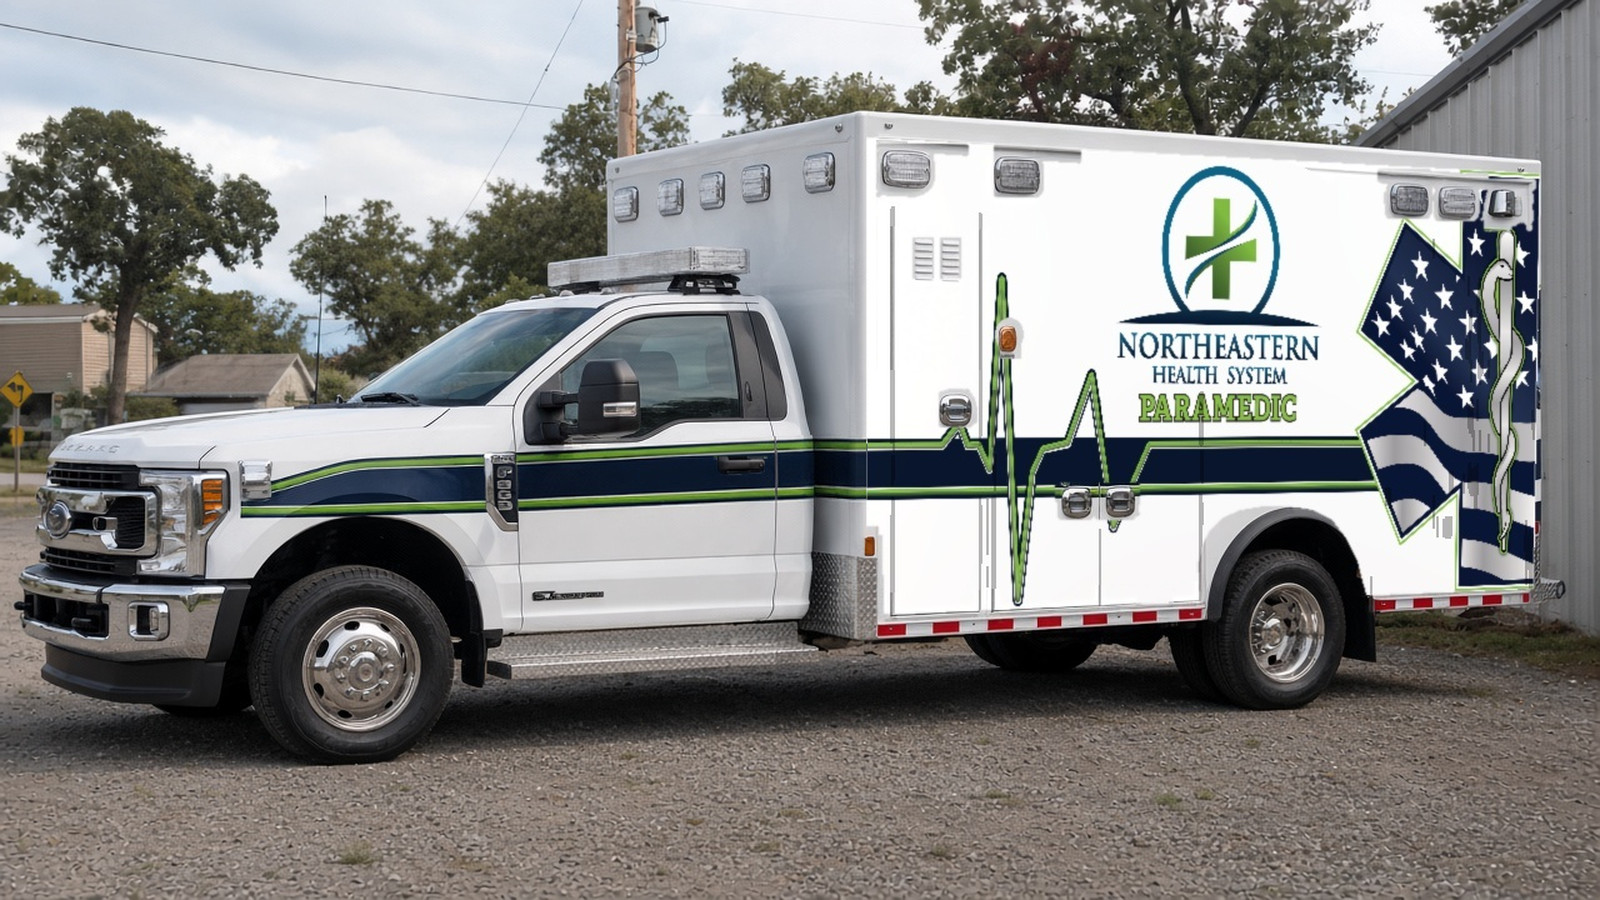
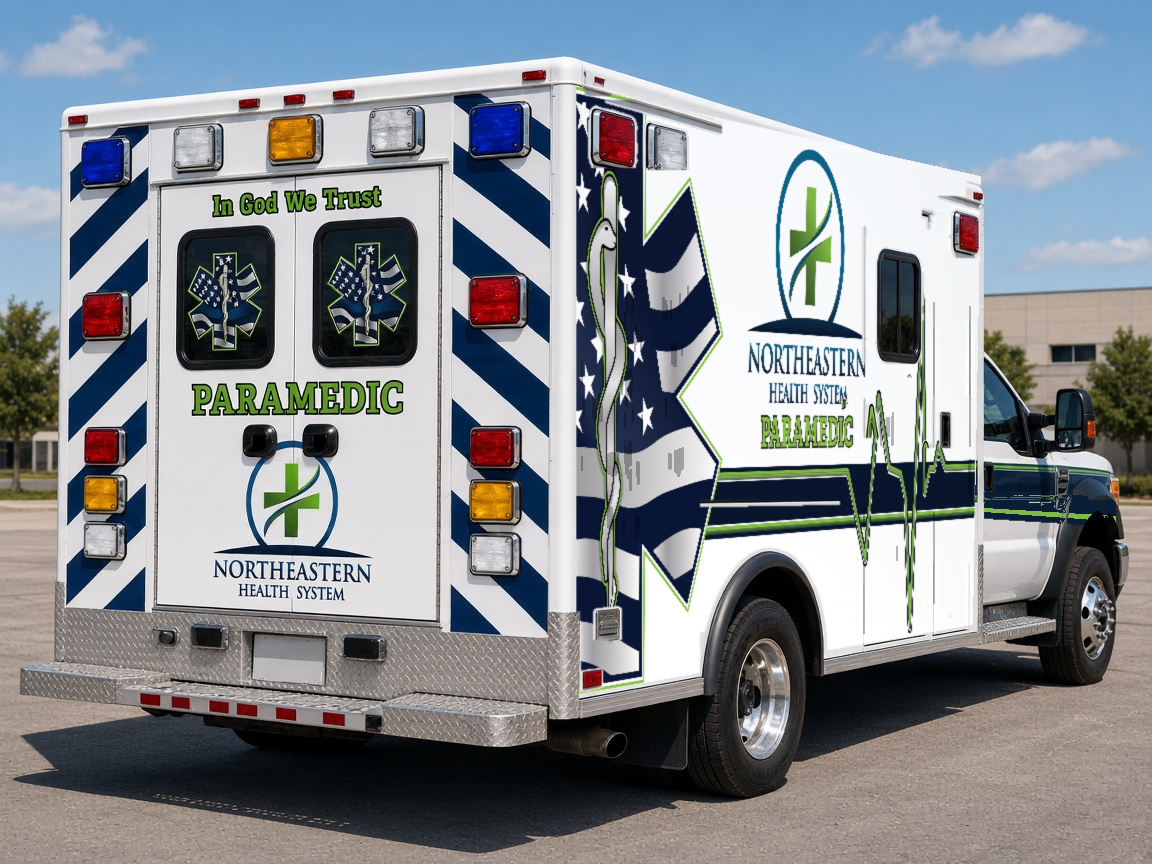
A recent ambulance-box wrap is a good example of how this handoff actually runs. Tony Wiggins at Razor’s Edge Graphics sent the starting concepts and photos of a white Ford F-550 ambulance box for Northeastern Health System Paramedic. I built the art files from that direction — including all-white flag stripes and an EKG line that sits on top of the color band — then produced mockups on the vehicle so the shop and the client could see the sides and the rear before print.
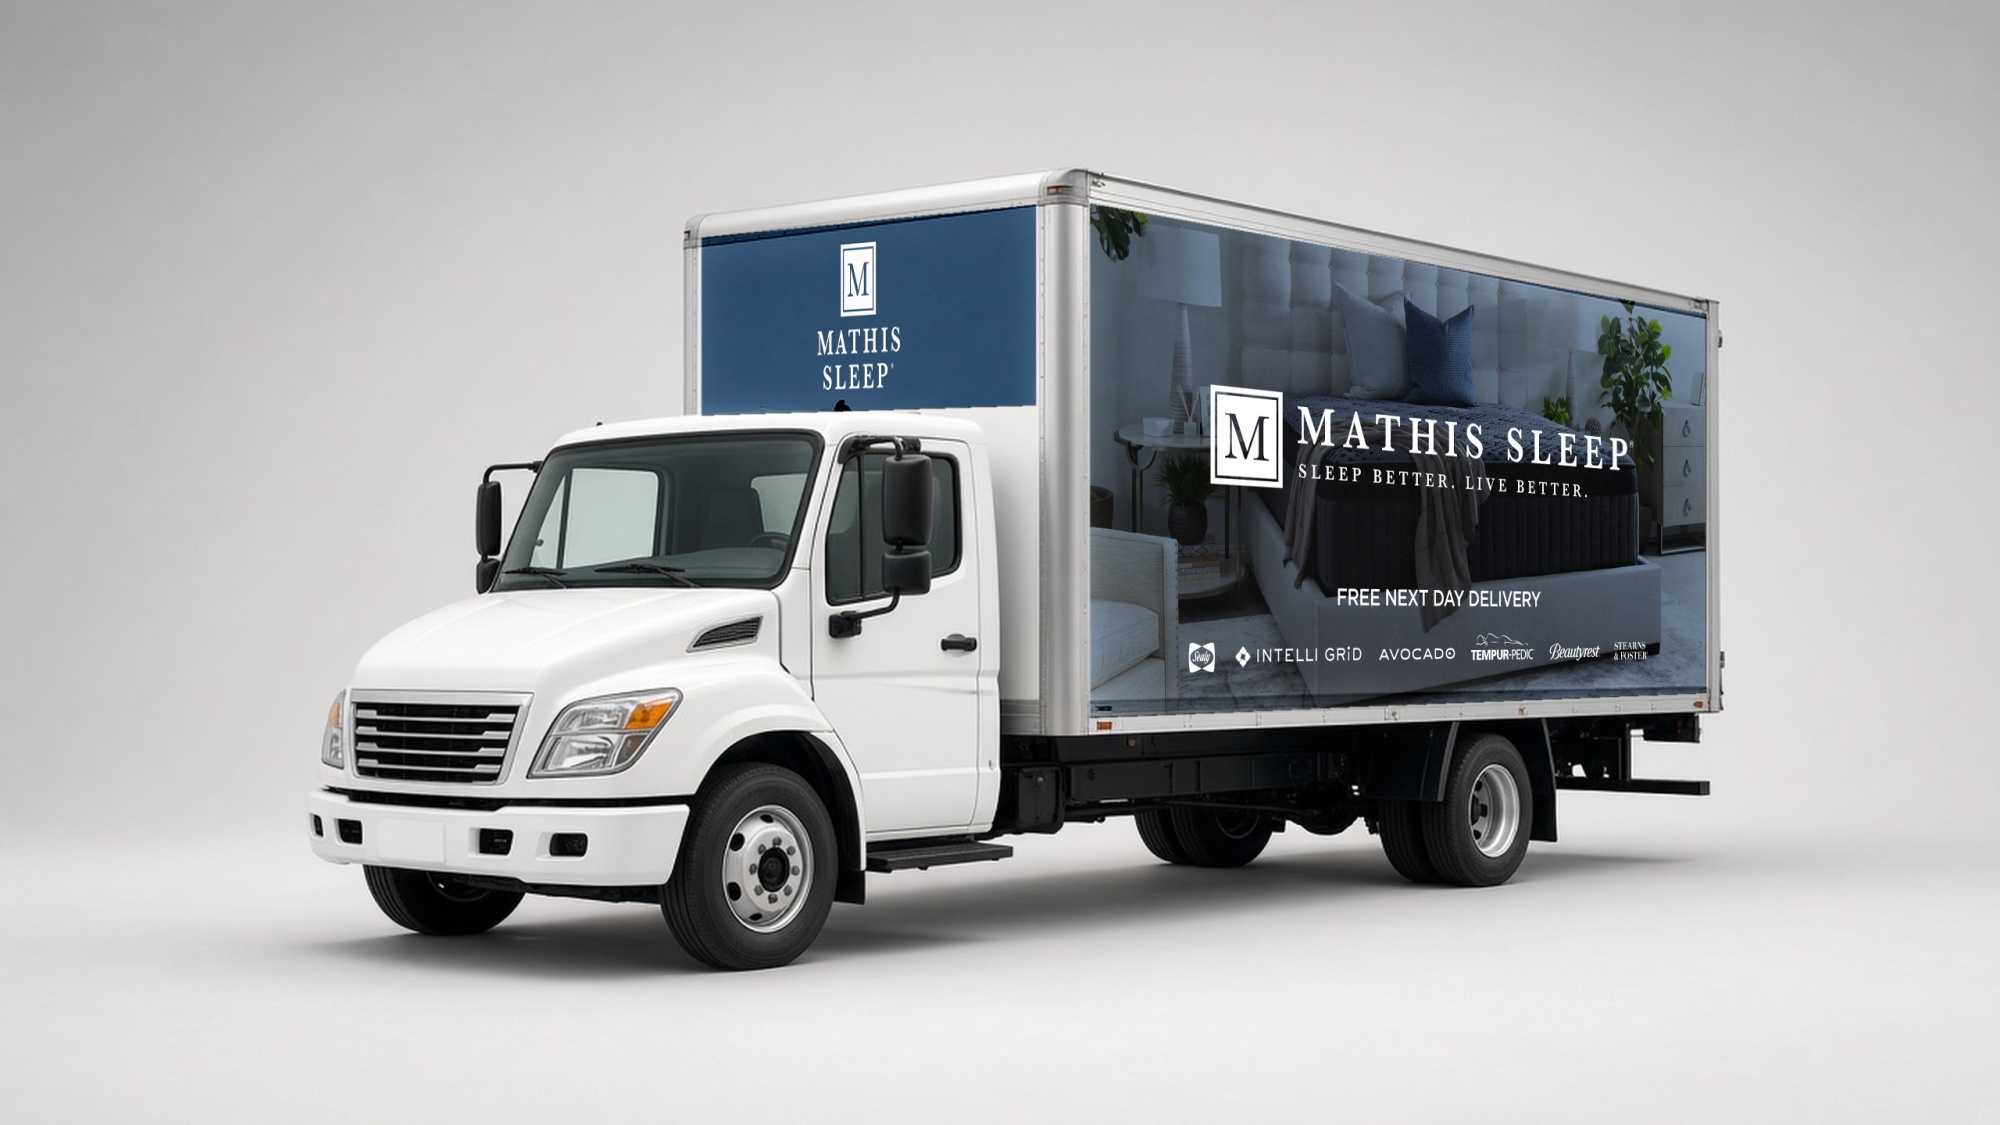
Other vehicle graphics already on my site include a Mathis Sleep box truck wrap, a Mobile Smiles Oklahoma truck and gooseneck trailer, a Jameson Irish Whiskey trailer wrap, and a Sprinkle & Sparkle Events trailer wrap. There’s also truck graphics in the Bruce Piano / Bruce Music work. The vehicles are different. The sequence is the same: measure, design, mockup, then hand off.
What a print-ready wrap file actually means
“Print-ready” for a wrap is not a JPG of the design. The shop needs art built to the template, at real size, in a format their equipment can use, with room to wrap edges and with hardware left clear. Type is outlined, logos are clean vectors, color is set up for print, and safe areas are marked around doors, handles, lights, and seams. The shop gets the views they need — sides, rear, and any cab or door pieces — not one flattened picture and a “can you make it fit?”
I don’t install the vinyl. Your wrap or sign shop does that. My job is to get them a file they can produce without redrawing it. If you’re starting from a blurry logo, that has to be fixed first — a mark that looks fine on a website will fall apart on the side of a trailer.
What I need from you to start
- The vehicle make, model, and year, if you have it
- The installer’s template, or the name of the shop so I can ask for one
- Clear photos of each side, the rear, and any odd corners or aftermarket parts
- Your current logo and brand colors, in the best file you have
- What has to be on the vehicle: name, service, phone, website, and anything that legally has to appear
From there I can tell you how I’d approach the design work. The install quote comes from the shop.
Frequently asked questions
Do I need to have a wrap shop already?
It helps, because the template and the install are theirs. If you don’t have a shop yet, I have several trusted vendors I can recommend for the install, and we can still talk through the design. I won’t quote the install.
Can you design for a truck I haven’t bought yet?
Sometimes, if we have a reliable template for that make and model. It’s more accurate once we have photos of the actual vehicle.
Will I see the design on my vehicle before it prints?
Yes. A mockup is part of the process. You should see the art on your vehicle — or on a close template of it — before anyone sends a file to print.
Do you also do the install?
No. I design the graphics and prepare the production files. Your wrap or sign shop produces and installs them. If you need a shop, I have several trusted vendors I can recommend.
Ready to put a design on the road?
Tell me what you drive and what you want it to say. I’ll tell you how I can help and what I need from your shop.
Vehicle and truck graphics has more of the recent work, or start a project or email artwork@seehawkdesign.com.
— Cary Hawkins, SEEHAWK Design, Edmond, OK